
Transform Your Space: DIY Tips for Installing Custom Cabinets
Transforming your space with custom cabinets can elevate the aesthetics and functionality of any room. Whether you're updating a kitchen, bathroom, or living area, custom cabinets offer a personalized touch that pre-made options simply can't match. With a bit of DIY spirit, you can install these cabinets yourself and enjoy the satisfaction of a job well done.

Planning Your Project
Before diving into installation, it's crucial to plan meticulously. Start by measuring the space where the cabinets will be installed. Take into account any obstacles like electrical outlets, plumbing, or windows that could affect your design. Creating a detailed plan ensures that your cabinets fit perfectly and function as intended.
Next, decide on the materials and style of your cabinets. Opt for materials that complement your existing decor while offering durability. Popular choices include solid wood, plywood, and MDF. Each material has its own set of benefits, so choose based on your budget and needs.
Gathering Tools and Materials
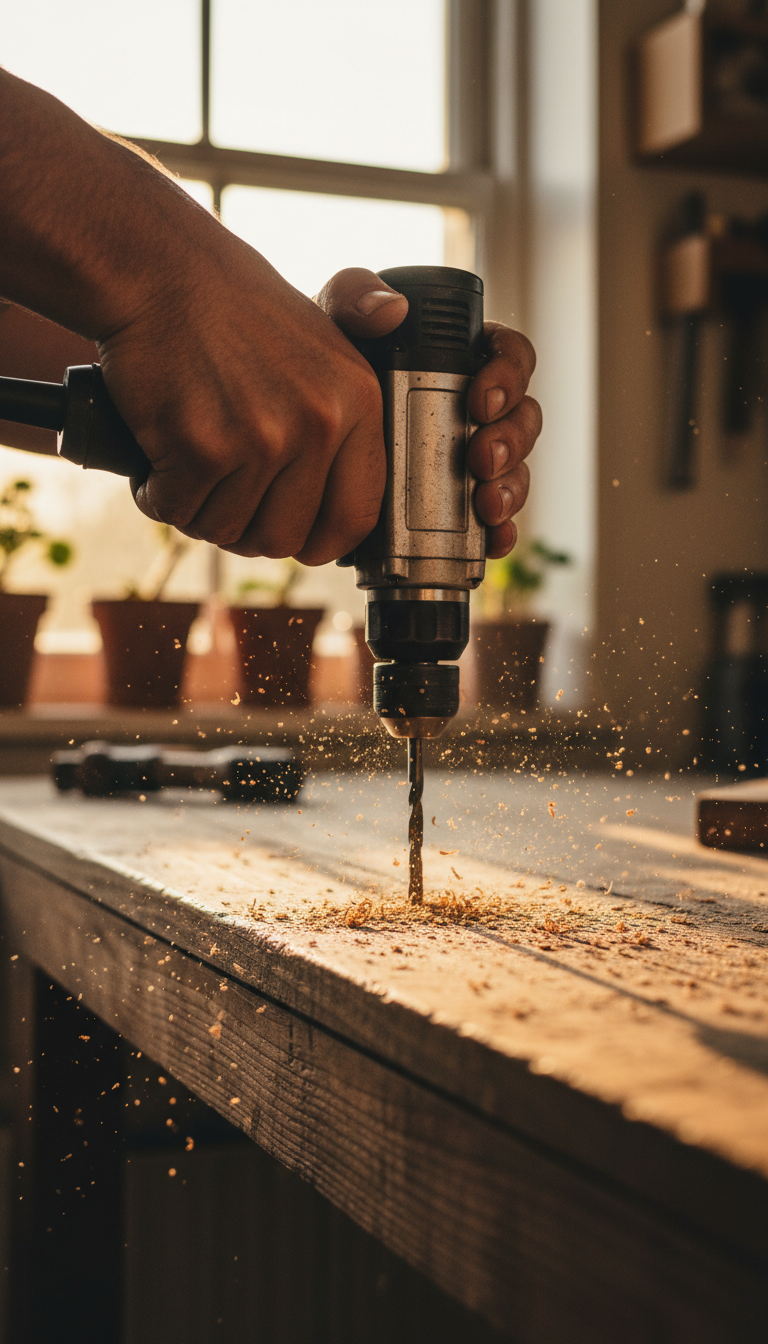
Having the right tools on hand makes installation smoother and more efficient. You'll need a drill, level, measuring tape, screwdrivers, and a saw. Additionally, ensure you have all necessary materials, including cabinet hardware, screws, and brackets. Gathering everything before starting will prevent unnecessary delays.
Preparing the Installation Area
Preparation is key to a successful cabinet installation. Begin by clearing the area and removing any old fixtures or debris. Make sure the walls are clean and smooth, as this will help the cabinets adhere properly. If the walls are uneven, it might be necessary to make adjustments or add shims for a level fit.
Mark the wall where each cabinet will go, using a level to ensure accurate placement. Double-check your measurements and marks before proceeding to avoid mistakes during installation.
Installing Your Custom Cabinets
Now comes the exciting part—installation. Start by attaching the upper cabinets first, as this will prevent the lower cabinets from getting in your way. Secure the cabinets to the wall using sturdy brackets and screws, ensuring each cabinet is level and aligned perfectly with the others. It's often helpful to have a second person assist with holding cabinets in place as you secure them.

Once the upper cabinets are installed, proceed with the lower ones. Make sure they are flush with the upper cabinets for a seamless look. Adjust and secure them similarly, checking for level and alignment throughout the process.
Finishing Touches
After installing all cabinets, it's time to add the finishing touches. Attach the doors and handles, ensuring they are properly aligned and functional. Adjust any hinges as necessary for smooth operation. Finally, clean the cabinets thoroughly to remove dust and fingerprints accumulated during installation.
Installing custom cabinets as a DIY project not only transforms your space but also provides a rewarding experience. With careful planning and execution, you can enjoy beautiful, functional cabinets that reflect your personal style.